STEP 1
UNPACKING
Follow the steps below to learn how to do the unpacking of the airpointer and understand its structure. You can also download PDF 'Step 1 - Unpacking' from the link below!
Now let's start
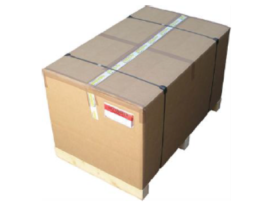
1) Remove the protection foil and inspect the packages for external shipping damage.
2) Do NOT cut the multi-ply board box. It can be reused for later shipment. Open, lift and remove the multi-ply board box.
3) Store it together with wooden pallet for later reuse.
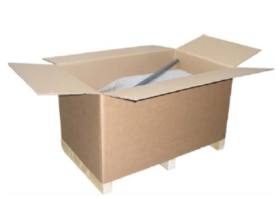
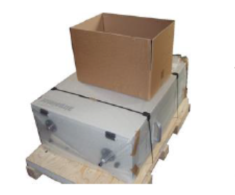
4) Unpack the airpointer and check for content of delivery inside the enclosed boxes.
5) Cut the plastic retaining bands that fixes the airpointer to the special wooden pallet.
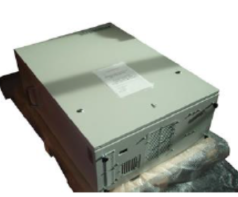
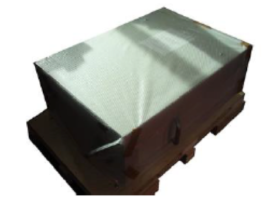
6) Remove the transparent plastic protection.
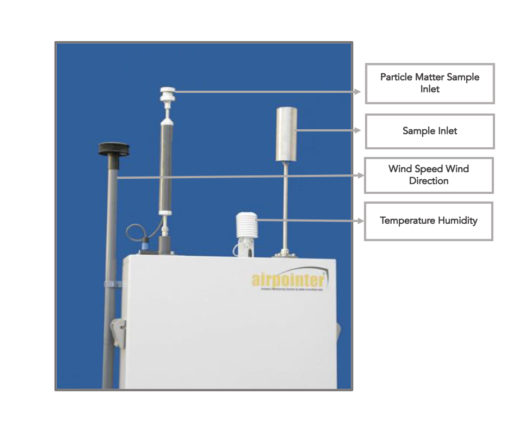
GET FAMILIAR: LAYOUT
Before continuing with the next steps it is important to learn the layout of the airpointer. At various circumstances these steps will be explained over these components.
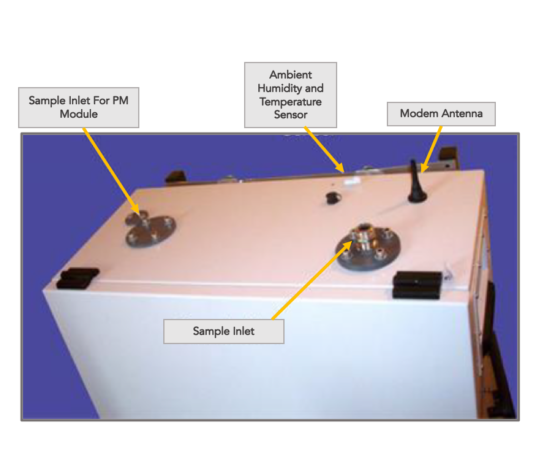
Top of the airpointer.
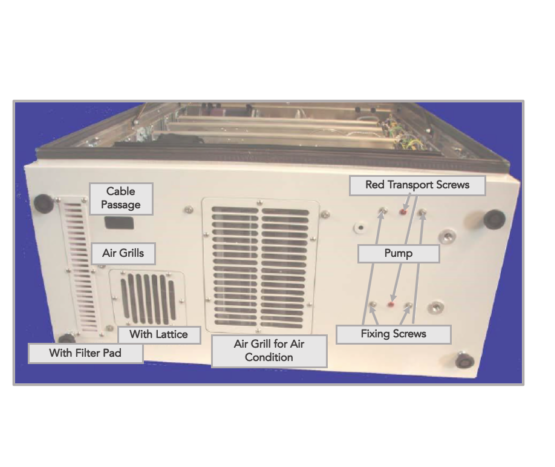
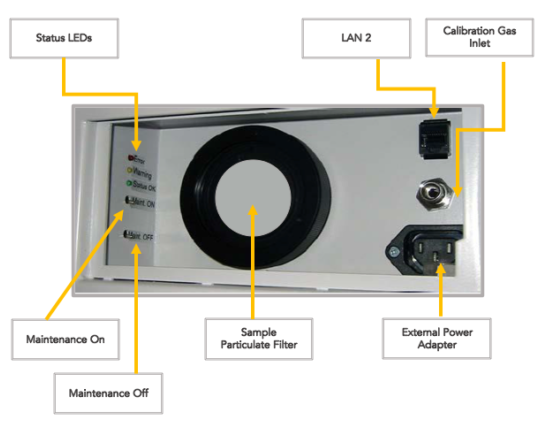
Bottom of the airpointer.
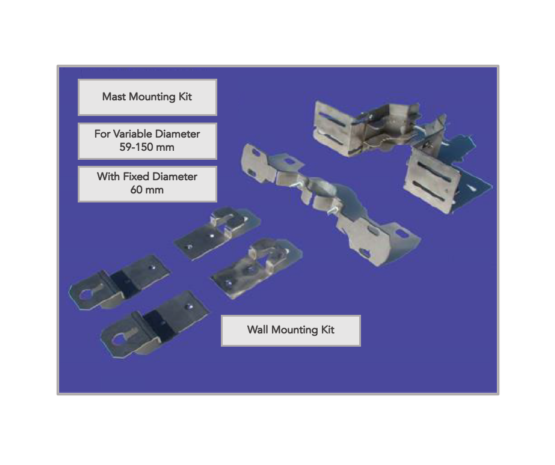
Clamping claws and mounting brackets.
Note: These are optional parts.
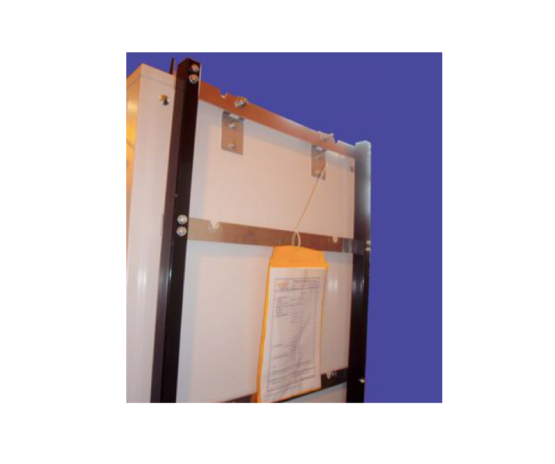
Fixation of mounting kit W for
wall mounting on a frame.
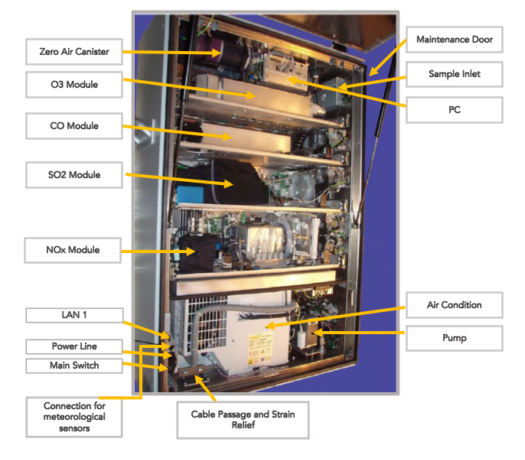
Here the 4D airpointer model with four drawers is taken as an example. Depending on your configuration one or more of these components may not be installed.
! The external power adapter is configured for maximum 100W and temporary use, only.
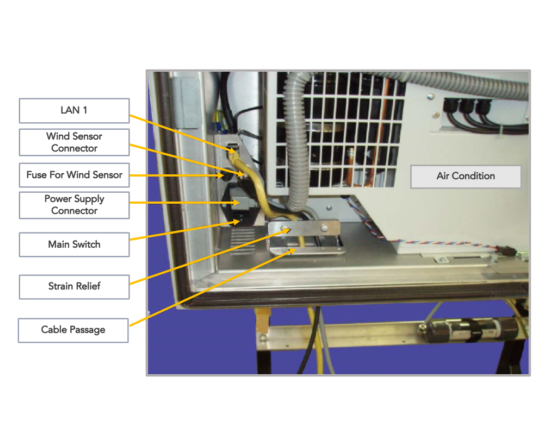
Position of the Power Supply and Connector of the Master Switch, at the Left Bottom of the airpointer.